What I've learned from 10 years of bike commuting
Contents
Around 10 years ago I rode a bike into work for the first time. It wasn't by choice - I had been riding a classic Vespa to and from work, but the muffler had just fallen off and it was unridable (without suffering significant ear damage and annoying half the town). I decided to take a crappy bike I had and just ride in.
I live up hill from work (with a single 120m climb to get to my house). I don't remember that first quick painless ride into work, but have vivid memories of the ride home. I got off the bike a quarter of the way up the hill and pushed the rest. I remember seeing seasoned riders fly up the hill and just thinking "how the hell can they do that!?!".
I lacked everything I needed to successfully commute in: a good bike, good gear and good fitness. But I built all of those things up quickly and learnt what is important and what isn't. If you are starting out on your own journey of bike commuting, maybe some of these tips will help.
Bike
The first rule of starting out riding is to just ride what you have already got. At the start you have no idea where your bike journey might take you. You might get really into road cycling, or gravel riding, mountain biking, touring, cyclocross, track or just cruising.
If you are looking to buy an ebike, my recommendation would be to see if you can rent or borrow a similar bike and use it on your commute both ways before hand. Riding it up and down the block of the bike shop won't really show you what it is like to ride up that hill you need to go up, or when it is loaded up with all your work stuff.
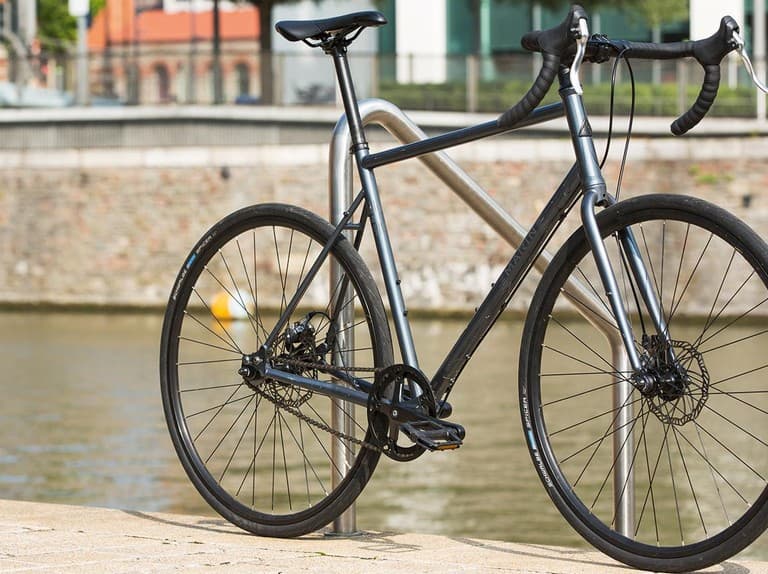
There are many different types of bikes for different styles of riding, distance and use cases. The best bike is one you use all the time. For me, I favoured low maintenance and reliability over other factors (speed, comfort, carrying capacity etc), so went for a fairly cheap, single speed steel frame bike, with puncture resistant road tyres, mudguards and drop bars. This is the type of bike I just don't need to worry about - it isn't fancy, so I'm not worried about locking it up outside a pub or overnight, it is pretty robust and requires very little maintenance, and it just works. It's not fast or particularly comfortable, but I jump on and pedal and it goes.
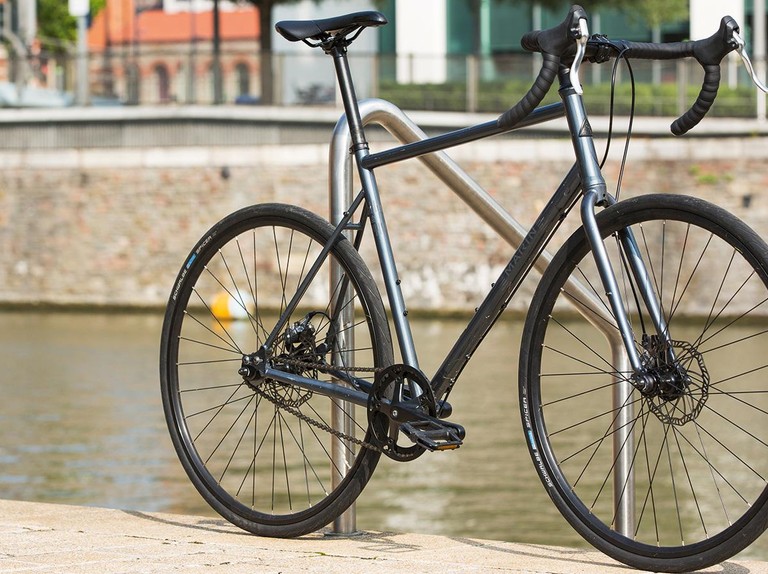
You might prioritise speed (ebikes or road bikes), carrying capacity (cargo bikes), comfort (step through, or hybrid bike), off road capability (mountain or gravel bike) or style (fixie, city bike - I don't know what is cool anymore).
If you do decide to buy a fancy road bike or full suspension mountain bike, my advice would be to leave those at home for the commute and ride in on something a bit more durable, cheaper and easier to fix. Commutes can be tough on bikes - they are often in bad weather, you often need to leave a bike outside in the elements for a time - so if you can, save the fancy bikes for when you are riding for fun.
Clothing
Starting out, ride with what you've got - with one exception. If you don't have bike specific shorts, don't try to just get away with any old shorts. When I was around 12 years old, I learnt the hard way that some sports shorts scoop up the wind when riding a bike, which can be annoying, but is potentially fatal if a bee accidentally gets scooped up and then stings you on the bottom. I basically fell completely off the bike and was almost collected by a vehicle behind me.
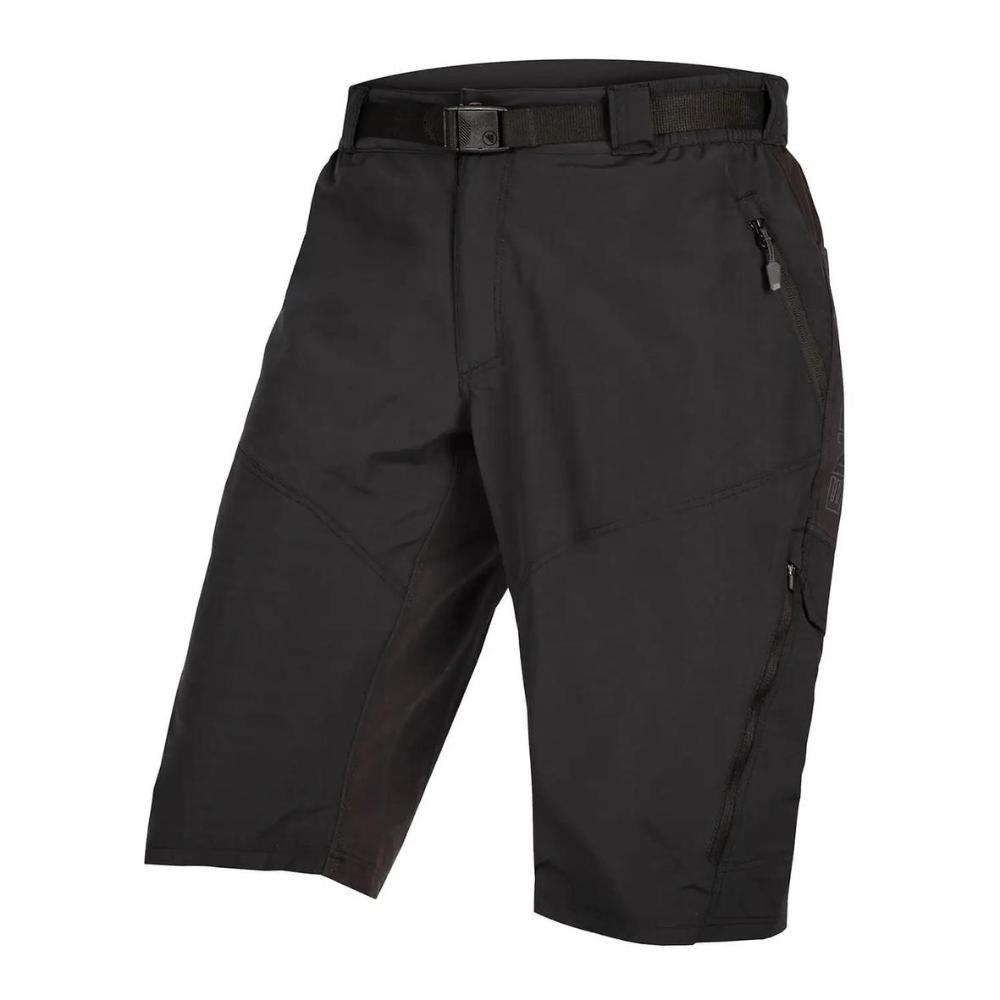
If you want to avoid the whole 'lycra look' have a look at mountain bike specific clothing. Shorts tend to be baggy with lots of pockets and have lightly padded inserts (which can be taken out and washed separately).
Jacket
Bike specific jackets can be important - they are designed specifically to cover you when bent over on the bike (so are longer at the back), will have features to stop them flapping in the wind (velcro over the wrists) and have pockets that work on a bike (top breast pocket for glasses, back pocket for phone and snacks). They also tend to have reflective hits built into sensible places to make you more visible on the road. Jackets are a good first step into bike specific clothing and can have real advantages over non-bike jackets.
A note on high-viz: it is up to you if you want to dress head to toe in high viz. There are some studies saying it is safer and others saying it makes little difference. Personally, I'd go for something bright and colourful with reflective hits that makes me seen on a bike but doesn't fully out me as a cyclist if I happen to stop into a cafe - so not the bright yellow dayglo high-viz. As long as you aren't dressed head to toe in black and you have good lighting (see the lights section below), you'll be safe.
Gloves
If you are riding in winter, gloves are a must. It's not just a comfort thing - being able to feel your fingers and operate your brakes gets really tough on those cold mornings.
During winter I'll use full fingered gloves that have a degree of water resistance and have reflective elements so they are really visible when indicating at night.
During summer, I don't bother with gloves when commuting - it's just another thing to have to manage and look after.
Waterproofness
It can be tempting to try and get everything as waterproof as possible - but the truth is, most clothing isn't waterproof for long, and anything that is truly waterproof breathes so badly that you will end up soaked with sweat anyway. I'd focus your clothing on staying warm and keeping the wind off rather than focusing on staying bone dry. Trust me, if it is raining hard enough, you are going to get wet.
Shoe covers
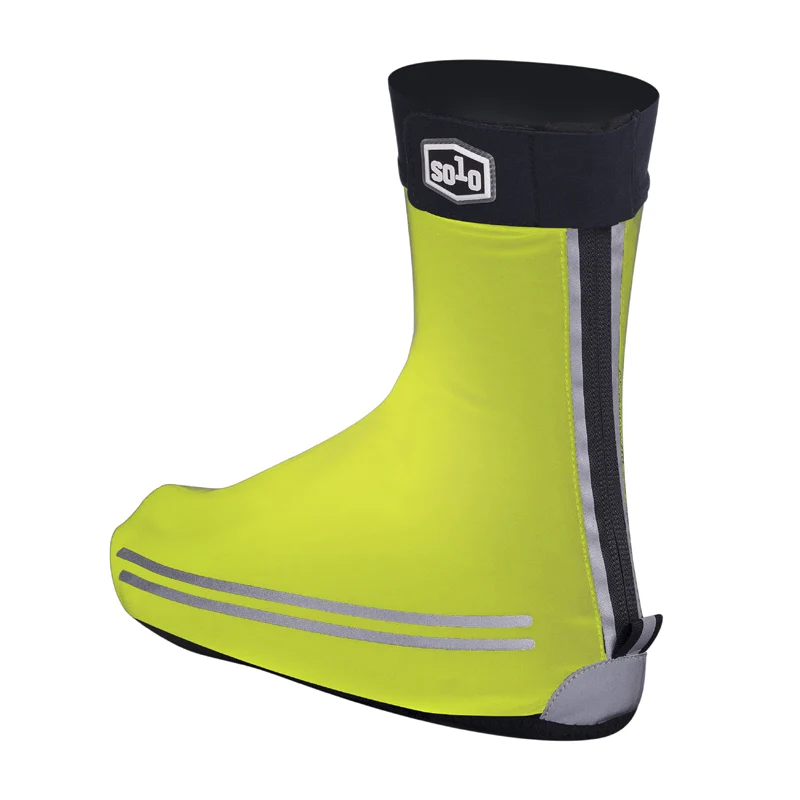
Having said that, there is nothing worse than wet shoes and socks, and on a bike, your feet can be the first to get wet, even in light rain. Shoe covers can be really helpful in limiting how wet your shoes get - again, you won't be able to keep them fully dry all the time, but you might significantly cut down on drying time and avoid the worst thing about bike commuting: putting wet socks and shoes on in the afternoon to bike back home. When selecting shoe covers, go for thicker, neoprene ones. Another good advantage of shoe covers is they tend to have reflective hits on them - the sight of reflectors on shoes moving up and down is an unmistakable sign that there is a cyclist up ahead.
Bag
If your ride is short (say less than 30 minutes each way) then a backpack should be fine.
Bag covers are okay in a pinch to protect your bag from rain - but they are not perfect and are prone to being blown off and lost in the wind.
Ideally, any bag you get should be waterproof enough to withstand the full length of your commute in the rain - so a roll-top canvas bag is ideal. Look for something that has reflective hits and a sternum strap.
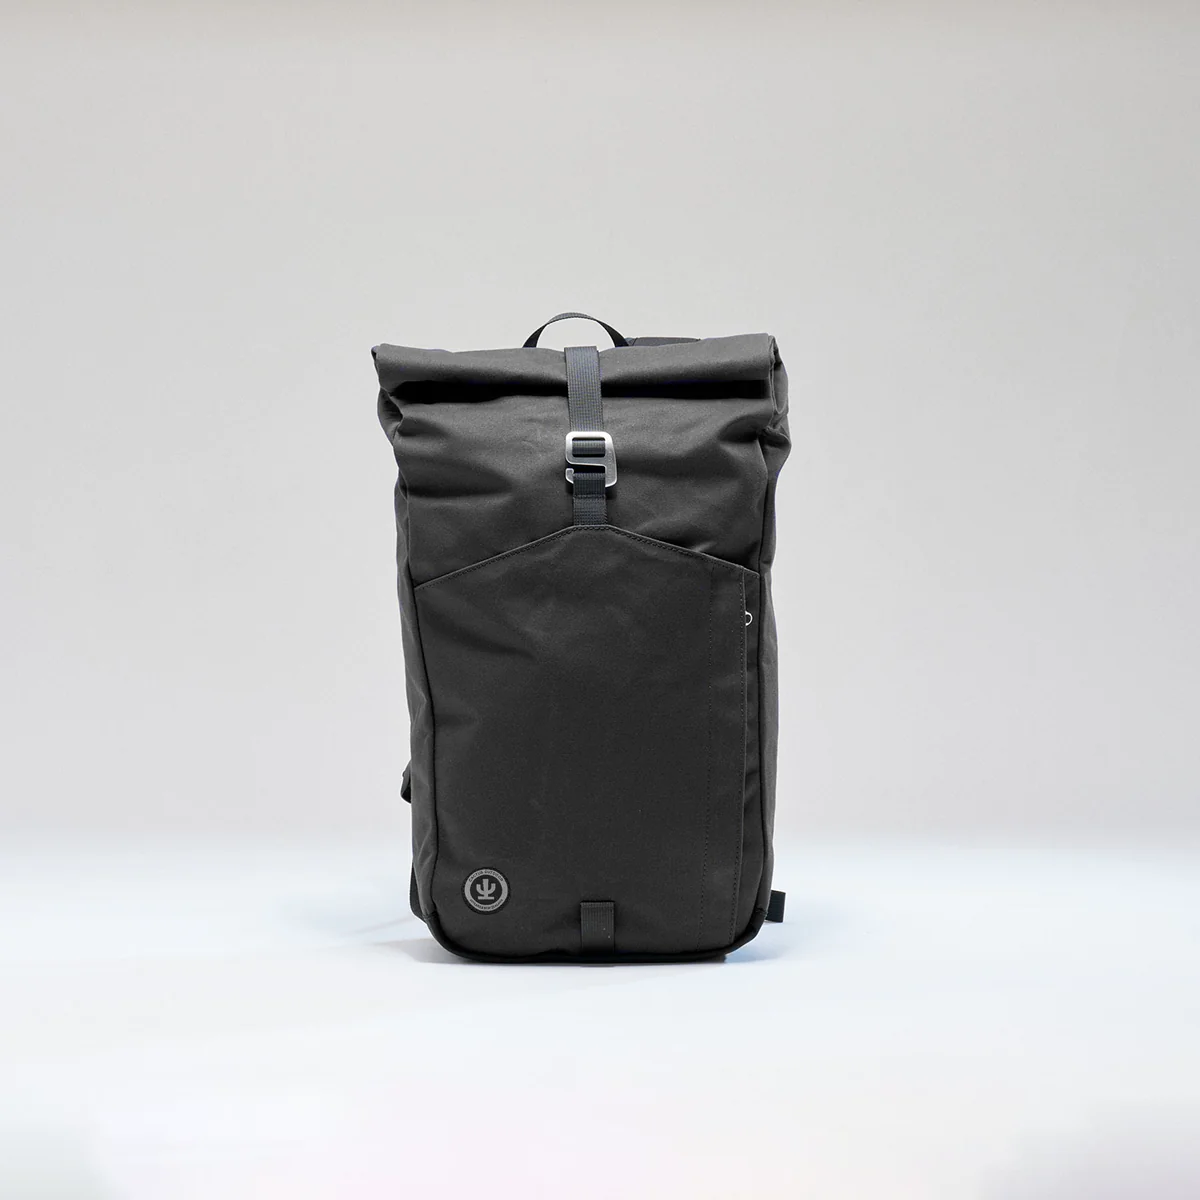
For longer distances you will eventually want to get weight off your back. The simplest way to do this is using panniers.
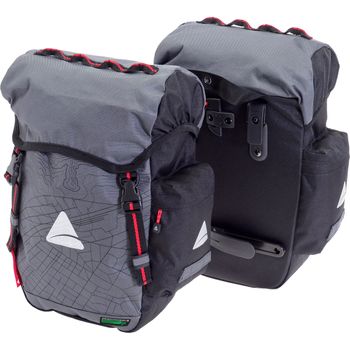
These can be expensive, as you may also need to buy a rear rack for your bike, but are the most comfortable way to transport stuff (outside of a cargo bike). I'd recommend removable ones (some transform into backpacks) so you can take them into work or the supermarket with you.
Lights
Legally in New Zealand, bikes are allowed up to two front white or yellow lights (only one can be flashing) and as many rear facing red lights as you like (solid or flashing).
Full details of the law from the Road code for cyclists:
You must use lights between sunset and sunrise, and at any other time when you can't clearly see a person or vehicle 100 metres away – about the length of a rugby or football field.
You must have one or two front lights on your bike. Only one front light may flash. Front lights must be white or yellow.
You must have at least one rear light. Any rear light may flash. Rear lights must be red.
Lights must be seen from 200 metres away at night.
Your lights must not dazzle, confuse or distract other people.
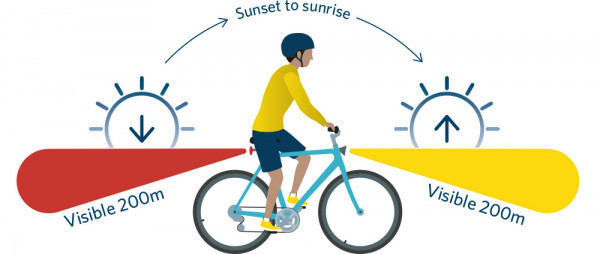
My advice is to have four lights - two up front and two out back. Personally I have all four attached to my bike all the time, but I tend to only turn two on during the day (the front flashing one and one rear flashing one) and will only use all four at night. Having the extra lights gives me that extra visibility at night, but also provides redundancy if one of the lights runs out of batteries, gets nicked or happens to fall off.
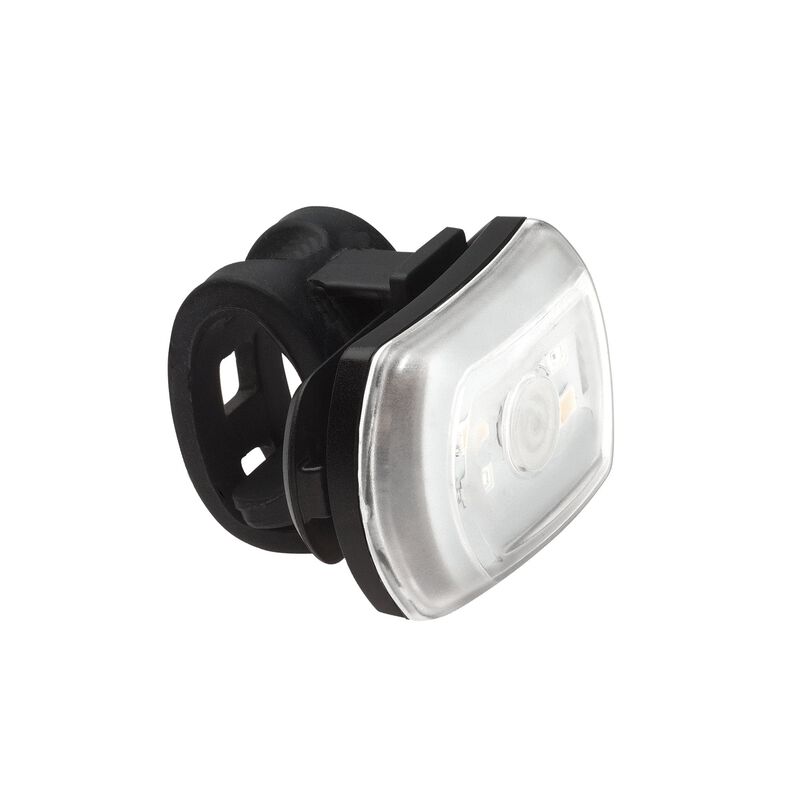
Having said that, going out and buying four lights all at once can be expensive (some lights run as much as $100 each). It could be cheaper starting out buying two (one front and one back), and if you really want redundancy, add a 2'fer style light to your bag or breakdown kit. These lights can be both red and white, so are perfect as a backup.
Mounting your lights
When installing the lights, resist the urge to attach them to your helmet or bag. Helmet mounted lights are great for mountain biking (they light up where you are looking), but for that exact same reason they are terrible for road cycling and commuting - as you lose a significant amount of visibility every time you turn your head, look down or turn around to see if there is a car behind you. Helmet mounted lights can also be blinding or dazzling for oncoming cyclists, drivers and pedestrians - it is very tough to control where the light goes, and modern lights can be very bright.
Bag mounted lights have a similar problem - they often droop down or angle off in strange directions and are impacted by how bent or straight your back is at any point in time. When riding you'll often change positions; bending down to escape a headwind or leaning back to tackle a big hill - and each time you do that you'll change the visibility of your light.
The safest and most visible way to mount lights is directly to your bike: front lights to the handlebar, rear lights to the seat post.
Angle your lights so they illuminate the road ahead of you, not the sky. On a flat bit of road, check how far forward your lights are illuminating to ensure they provide enough light to see where you are going but aren't angled high enough to dazzle people. Have someone else hold your bike and do a walk around to get a sense of how visible you are from different angles.
If you run panniers, you might want to mount your rear lights on your rack - but be sure to check that they aren't obstructed when your bags are full.
As for what types of lights to get: my recommendation is for all four to be USB rechargeable, ideally with the same plug (USB-C), so you can easily charge them at home or work and even carry a cable for emergency top-ups.
Rescue kit and tools
You should carry a rescue kit with you on every bike ride. You can carry this stuff in your bag, pannier, or in a seat or frame mounted pouch. Personally I keep mine in a Lezyne Flow Caddy - it's a water bottle sized caddy that holds everything, fits in a water bottle cage and is unassuming enough that it's unlikely to be stolen. It pops in and out of the cage just like a water bottle, so is easy to remove and stash in a bag if you park outside for a while.
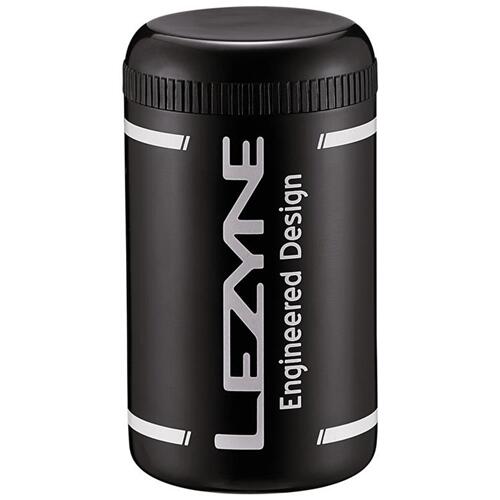
What to include in the kit
- 1-2 spare tubes
- 2 tyre levers
- 1 bike multitool
- 1 small container of pre-glued patches (Park Tool GP-2C is good and available at most bike stores)
- 5 cable ties
- $20 cash
Everything in this kit is designed to get you home if the worst happens. A spare tube (or two) and the pre-glued patches will cover one, two or even three punctures. The tyre levers will help you get the wheel off, the multitool handles adjustments and anything that has come loose, and the cable ties can get you home with a quick and dirty fix. The $20 is there just in case - useful if everything else fails, your phone is dead, and you need food or a taxi for the last few kilometres.
Hand pump
You'll need a hand pump - this can be part of your kit if it fits, or attached to your bike frame (most pumps come with mounts that sit under your bottle cage). When choosing a bike pump, there are two main types: road pumps, which push a smaller amount of air but inflate to higher pressures (thinner and longer), and mountain bike pumps, which move more air but top out at a lower pressure (thicker and shorter). What pump you choose depends on the type of tyre you run.
Floor pump
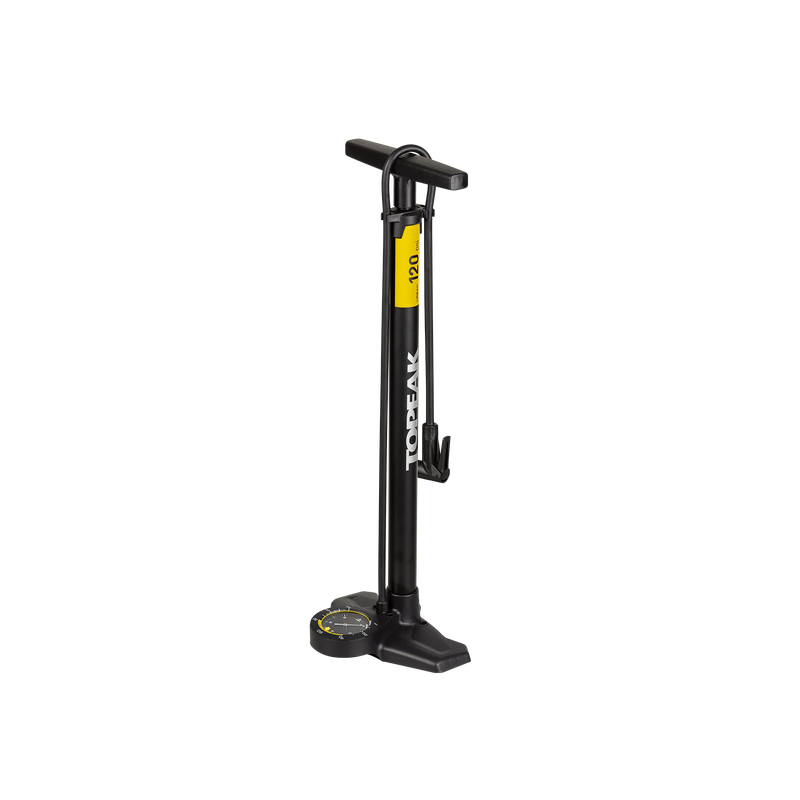
The most important tool for someone who plans to bike regularly is a floor pump. Bike tyres naturally lose air over time and it can be really hard to tell what your tyre pressure is by just looking or squeezing. Low pressure means more effort to ride, faster wear, and more punctures - so you'll want to check and inflate at least once a week.
A floor pump is simple to use, shows you the pressure as you pump, and does the job far faster than a hand pump. They aren't too expensive either, so are a great first thing to buy.
Bike locks
So you've spent all this time and money on getting your setup just right - now you need to protect it. Don't skimp on locks. A cheap cable lock is easily defeated in seconds with easily concealed tools. If you are leaving your bike out for any period of time, invest in a solid D-lock or heavy duty chain.
Lock your bike to something solid. In New Zealand a lot of street sign poles are designed to be easily removed - which means they are not secure for locking your bike to. Find a proper bike stand or street furniture that can't be moved.
When locking your bike, ensure that the lock goes through the frame and the back wheel. You can also use a cable attached to the main D-lock to secure the front wheel.
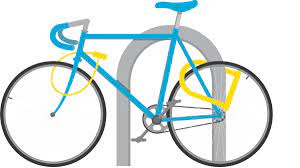
No bike lock is perfect - the key is to make your bike less desirable for a thief and make it risky and time consuming to steal. Locking it properly helps, as does parking in a public, well lit place. Remove any valuables from your bike - lights, rescue kit etc.
Final thoughts
Bike commuting can be fun and rewarding. It's a great way to really be part of the town you live in rather than just driving through it. It provides 'free' exercise and can really help people keep weight down. I find it also gives a great start and finish to the work day - the morning ride in is a great way to wake up and get the blood going, and the ride home is a great transition out of a long day at the office.
Finally, commuting by bike gives me consistency and certainty. In the worst case scenario of heavy traffic, terrible weather and a flat tyre, my commute home might take 10 minutes more than usual - but day to day, I'm home or at work within a minute or two of every other ride. Compare that to public transport or driving, where a worst case scenario can have you stuck in traffic for 10, 20, 30 minutes or more.
And I'm not alone out there: the city's sensor data shows cycling in Wellington is on the rise, something I dug into when Te Ara Tūpua opened.
More posts
15 min read
Te Ara Tupua: a first look at the data
Te Ara Tupua opened on 16 May. Using two existing sensors at the path's southern entry, here's what the first week looks like — and what the wider WCC network tells us about cycling trends in Wellington.
2 min read
Pretty to think so
Many years ago, myself and a few friends started a band - The Concerned Residents. We played gigs around Wellington bars, including at the Wellington Garden...
7 min read
Getting on the Wellington Meshtastic mesh (and into Home Assistant)
I wired a Meshtastic radio into Home Assistant over the weekend. The hard part was finding current info on the Wellington mesh, so here it all is in one place.
Replies
Loading replies…